


Hair: Modern Elvish Hairstyles
Love the Elvish hairstyles in the movie but want a modern alternative? Going on a date but don’t want to look like a total Rings-freak? www.dressytresses.com has the answer! In their Hairstyles section they tell you how to create twenty stunning looks, all with an Elvish feel to them.
Here we reproduce the instructions for four, but go and check out the others, and the website’s collection of gorgeous hair accessories.
Step 1.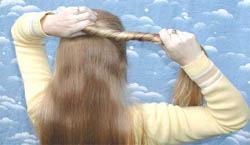
To create the Half Bun hairstyle, take half the hair and make a basic ponytail. As an option, you may use an elastic band to secure the ponytail.
Continue with steps 2 through 7, below (these are the instructions for the Basic Bun). Smaller buns will require only one stick to secure the hairstyle. A second stick is optional for decoration only.
Step 2.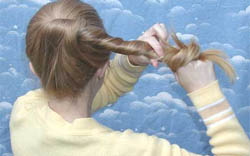
Twist the entire length of the ponytail.
Step 3.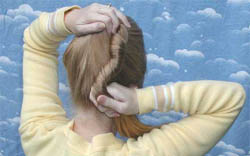
Coil the twist around itself, to begin creating the bun.
Step 4.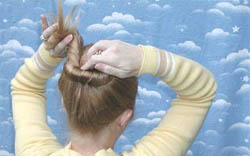
You may dampen your hair in order to help keep shorter pieces from popping out.
Step 5.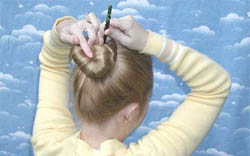
Step 6.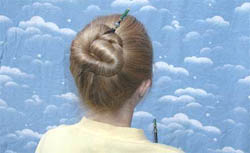
Change the direction of the stick and weave it up and out the other side of the coil.
Step 7.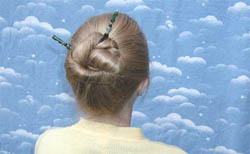
This hair style will work on any length of hair that will allow you to make a ponytail.
Step 1.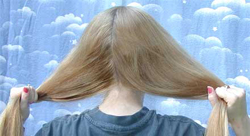
Divide your hair into two sections.
Step 2.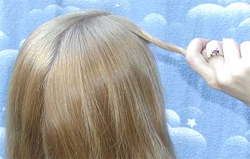
Beginning on one side, from your forehead, take a small section of hair and twist toward the back of your head.
Step 3.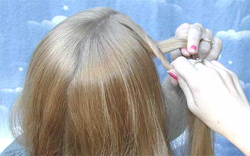
Take another small section of hair, add it to the first section and twist it all together a few times.
Step 4.
Continue adding and twisting hair until you’ve gathered all the hair on one side.
Step 5.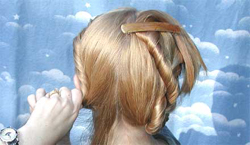
Give the finished section a few more twists, then hold it up out of the way with a clip. Begin twisting and sectioning hair on the other side of your head, as in steps 2 through 4.
Step 6.
Step 7.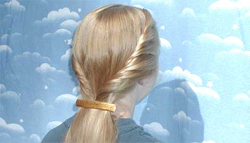
Using a comb, smooth any “messy spots” down into the roll. Hair pins may be needed on fine hair to hold in place.
(As in the Cinderella movie “Everafter,” with Drew Barrymore.)
Step 1.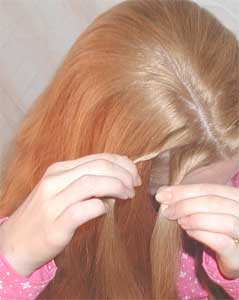
Pick up two small sections of hair from the front of the part line. Twist both sections downward and clockwise.
Cross the first section over the top of the second section.
Step 2.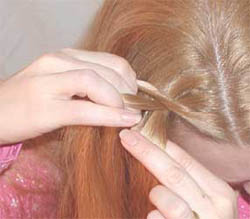
Pick up the next section of hair to be added. Add it to the second strand.
Step 3.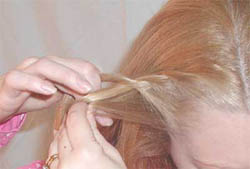
Step 4.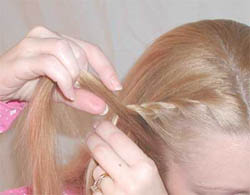
Pick up the last section of hair to be added by your right ear.
Step 5.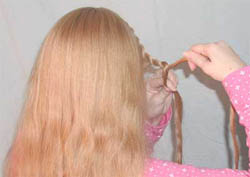
You should now have two strands of hair. Twist both downward and clockwise, while winding around each other.
Step 6.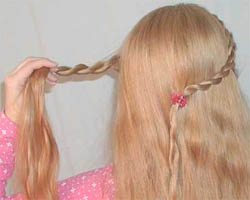
Hold the finished side with a clip, while you begin working on the other side.
Repeat steps 1-5 on the left side.
Step 7.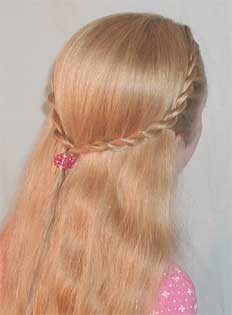
Clip the two strands together using your favorite hair accessory.
(Violet’s hair style from “Shakespeare in Love.”)
This hair style will work on one-length hair that is shoulder length or longer.
Step 1.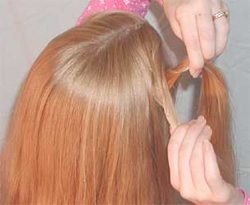
Part your hair down the center. Take one section at the top of the part line and give it one full twist counter-clockwise. Take another small section of hair from just below the first section and add it to the first section, twisting it all together.
Step 2.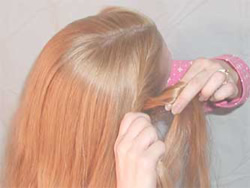
As you continue to add new sections of hair to the roll, twist the combined sections together as you go. Pick up the last section from just in front of your right ear, add it to the roll and twist it all together.
Step 3.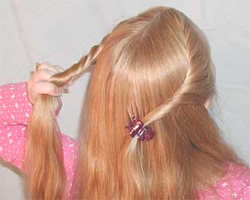
Twist the rest of the length a few times and temporarily secure it with a clip. Repeat steps 1-3 on the left side of your head.
Step 4.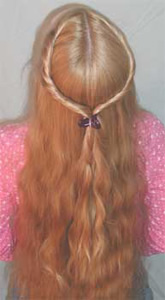
Fasten both sections together with an elastic band or butterfly clip.
Step 5.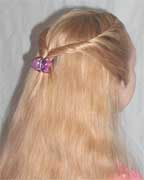
Finished hairstyle.

7 Comments
Oh, I will soo try this! Thanks!!!
That’s so coool!
Love that site!
So nice and useful instructions.I like your this website so much.Thanks for your great opinions to beautify the hairs.
It’s amazing!
Awesome! I can finally keep my hair looking Elfy…he he…
Thanks so much